Thursday, June 4, 2015
Wednesday, May 20, 2015
Top advantages of Project Parameters
Advantages of Project Parameters in Revit
- Sorting/Grouping in Schedule – You can add parameter like Tower number, which can help in sorting while scheduling

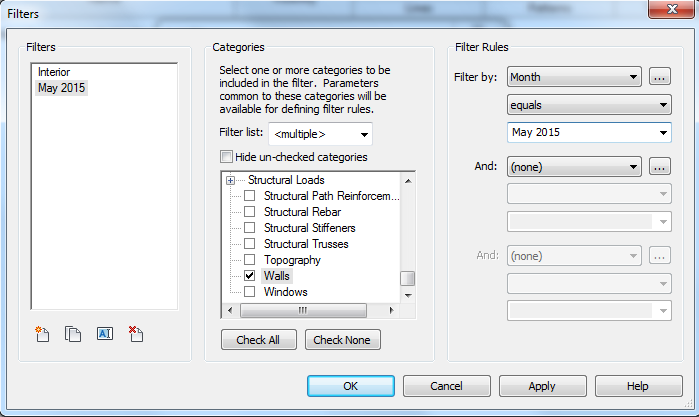
- Color coding by using Filter- You can add parameter like Month, which can help in filtering to color code in filter
- In Navisworks for making sets- You can add parameter like Activity, which can help make sets in Navisworks & which later can be used in Timeliner.
- For adding useful information while building As-built model.
Saturday, May 16, 2015
Points of Revit Topography in text file via Dynamo
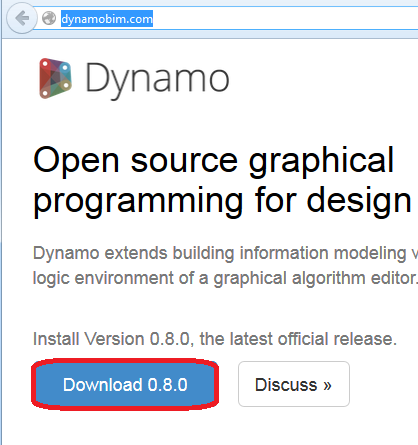
You need to install Dynamo, click here
Open Revit file with topography & select Dynamo under Add-ins menu

This will open Dynamo window, hit New
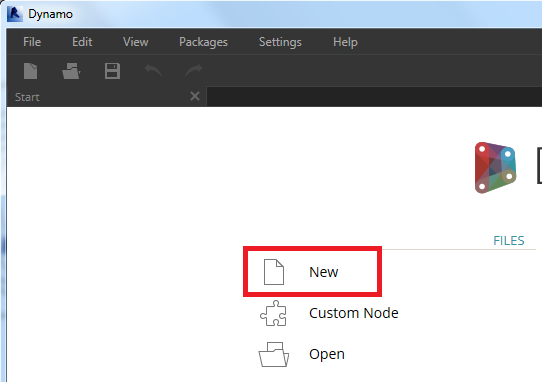
We are now in Dynamo file

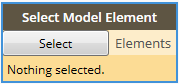
In search at top left corner, type select model element.
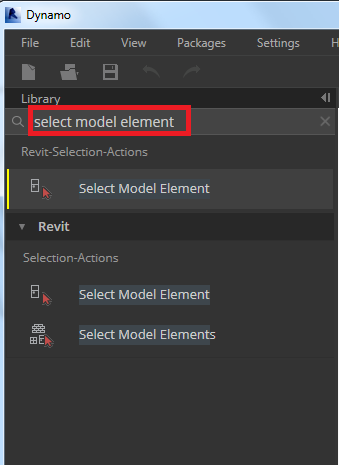
You will see the options coming up to select, select “Select Model Element”
Below tab will pop-up to select the element
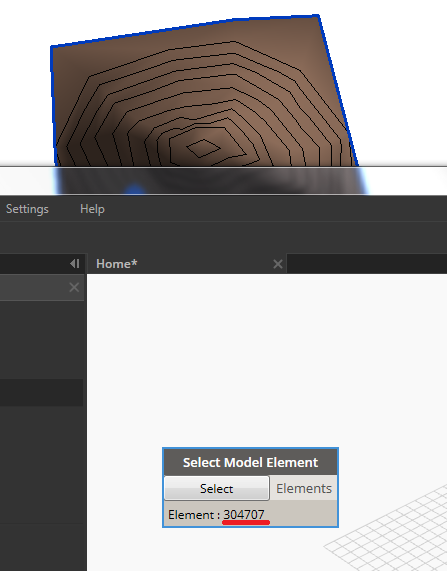
Hit Select in it & select the Topography in Revit
See that after selecting element id will be shown
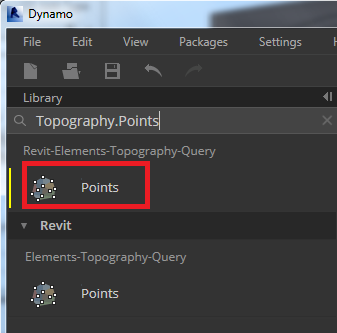
Now in search tab type Topography.Points & select Points shown below
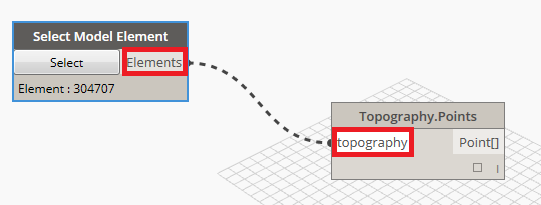
Select Elements & topography, as shown
Now search Code, select Code Block

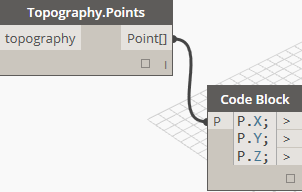
In Code Block, Type P & hit cursor outside

Now after P type .X; enter, type P.Y; enter & type P.Z;

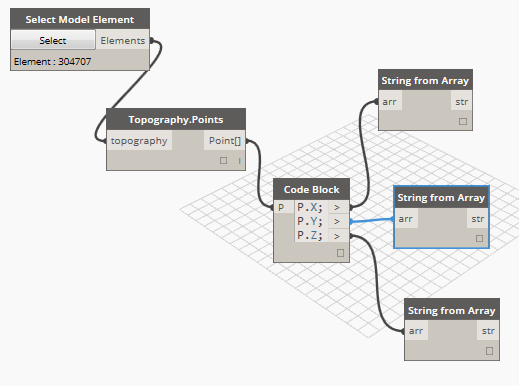
Link above to Points in Topography
Search for string from array, link this tab to code block as shows
Now search for csv. & select WriteToFile

Below tab will appear

Link it as below
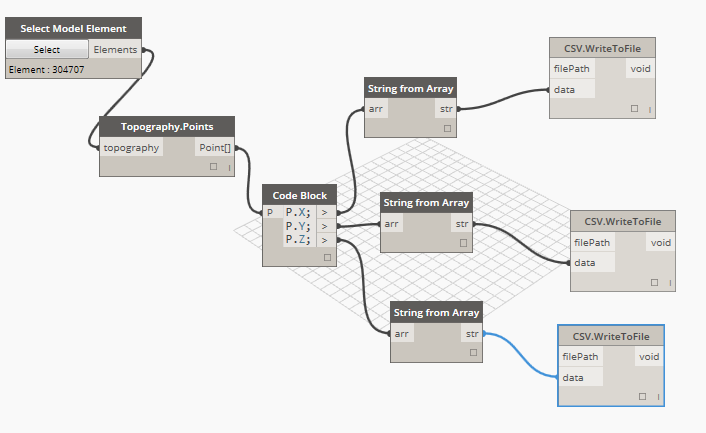
Search for file path & select the one shown below

Link it with filePath of CSV.WriteToFile

Hit the Browse tab in File Path to save the text file, remember to give separate name else files will override each other
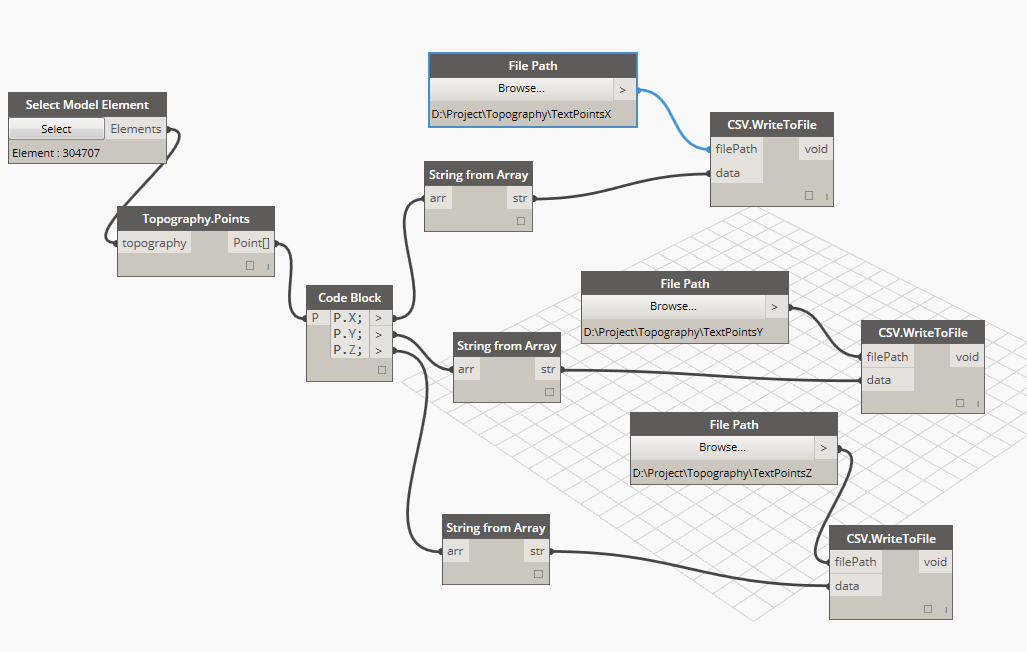
This will give you three separate text file of points

Enjoy
Friday, May 15, 2015

Built basic data to start modeling in Infraworks 360LT
Doble click below Icon

Above Icon is for Autodesk Infrawork 360 LT, available with Autodesk Infrastructure Design Suite Ultimate 2016 & Autodesk Building Design Suite Ultimate 2016 subscripted members.
This will open below to sign-in your account, as Infrawork 360 is a cloud based service provided by Autodesk.

Once sign-in is done below window appears

To generate the basic data to start with project hit model builder

Below Model Builder window will appear

We will take example of Powai, Mumbai area as I work there
In search type Powia, Mumbai, India

To change the view I will select below under Road drop down,

Above will change view to satellite view

Below are the options to select the view

I will select, the draw polygon option
Put the name of the file in left bottom corner & hit Create Model

This will show you below window, close this & wait for a while

You will get the mail & also now can see the file in Infraworks, hit the file to download & open.

Once opened you can see below

Enjoy
Thursday, May 7, 2015
Autodesk finds system & graphics hardware for you
Goto website click here
Select the required this as shown below & hit find button,

You will get the required results as below,

I am Dell fan so selected Dell as a manufacturer
Monday, May 4, 2015
Tuesday, April 28, 2015
What increases Revit file size?
- Family
In Place family drastically increase the file size, thus reduce the use of the In Place Families. Try to replace them with Component families.
Component families which contains unnecessary details like bolts & small size openings, etc. This increases the Project file size in multiples. Try to simply them & keep size limit of 300kb max.
- Detailed Model Fill Patterns
Model fill patterns containing a large number of segments will greatly increase a Revit project size. This typically occurs when a detailed hatch pattern [.pat] file is used to define a new fill pattern. If when possible avoid the use of detailed custom model fill patterns to optimize the file size.
- Raster Images & Rendered Views
For every inserted image or rendered image saved to the project, the project size will increase.
All of the inserted images, along with an instance count, can be viewed under Insert > Manage Images. Unneeded images can easily be deleted from this menu using Delete.
For rendered images saved to the project, by default they will be saved under the Renderings Project browser organization. They appear under the Manage Images dialog as well.
For rendered images saved to the project, by default they will be saved under the Renderings Project browser organization. They appear under the Manage Images dialog as well.
- Importing/Linking CAD files
Importing non-native files is going to increase the size. Thus reduce use of any non-native file in Revit.
- Use of Group & Array
This will multiply the size of the Revit file. Try not using them.
- Use of too many section views
Delete the section views which you think are of no use.
- Using too many small openings in walls & slab
Every small opening will add the file size, try avoiding small openings
- Avoiding Warnings
Remove warnings as much possible, this will keep Revit project file in good health.
Monday, April 27, 2015
Quick way of creating 4D in Navisworks
Will first make 3D views in Revit with separate section box,
Brief on making section box in Revit 3D view
I have tall building structure, in which there are several basement & floor above

Will first create section in plan

In section set the view

In 3D view set the view to section you created

Name this view as Basement (You can give appropriate name as per your activity)
Similarly create the 3D views for other Basements & floor above
From each 3D view export NWC & save

Now append this NWC files in Navisworks

While attaching the objects in Timeliner, Switch off the levels which are not related to activity, like if the activity is related to Basement3 switch of the other levels. This way you will only concentrate to that level only.
Attach the element by drag it on Task

Put planned dates & see that you have selected Task Type

Now play the simulation

This is a quick way in creating 4D of the tall building
Subscribe to:
Posts (Atom)